Needle Felting Shapes using Cookie Cutters
I recently led a needle felting session at the Eldersburg library as part of their monthly Art Discovery series. To help the kids successfully accomplish their needle felted creation, I divided the task into a series of discrete steps and will go thru these steps in this blog.
First, let’s make sure we are all on the same page regarding needle felting. In short , needle felting is a beginner-friendly craft that can be used to create figures, animals, and textured art. Needle felting uses barbed needles to repeatedly jab and tangle loose fibers together, causing them to condense, tighten, and lock into firm shapes. In this case, we will be creating a 2D (i.e. flat) needle felted piece. For materials, we need a felting needle (I generally use a size 38 felting needle), some type of fiber to felt (I use my wool/mohair blended batts or roving), a cookie cutter (to frame the shape to needle felt), and a felting mat.

Needle felting materials
The first step is to fill your cookie cutter (that has the shape you want to create) with fiber. The more fiber you use, the sturdier your final piece will be – but the longer it will take to needle felt. Note that shapes with rounded edges are easier to felt. And remember that you need to felt on top of a felting mat. For this discussion, I will create a 2D needle felted cat.
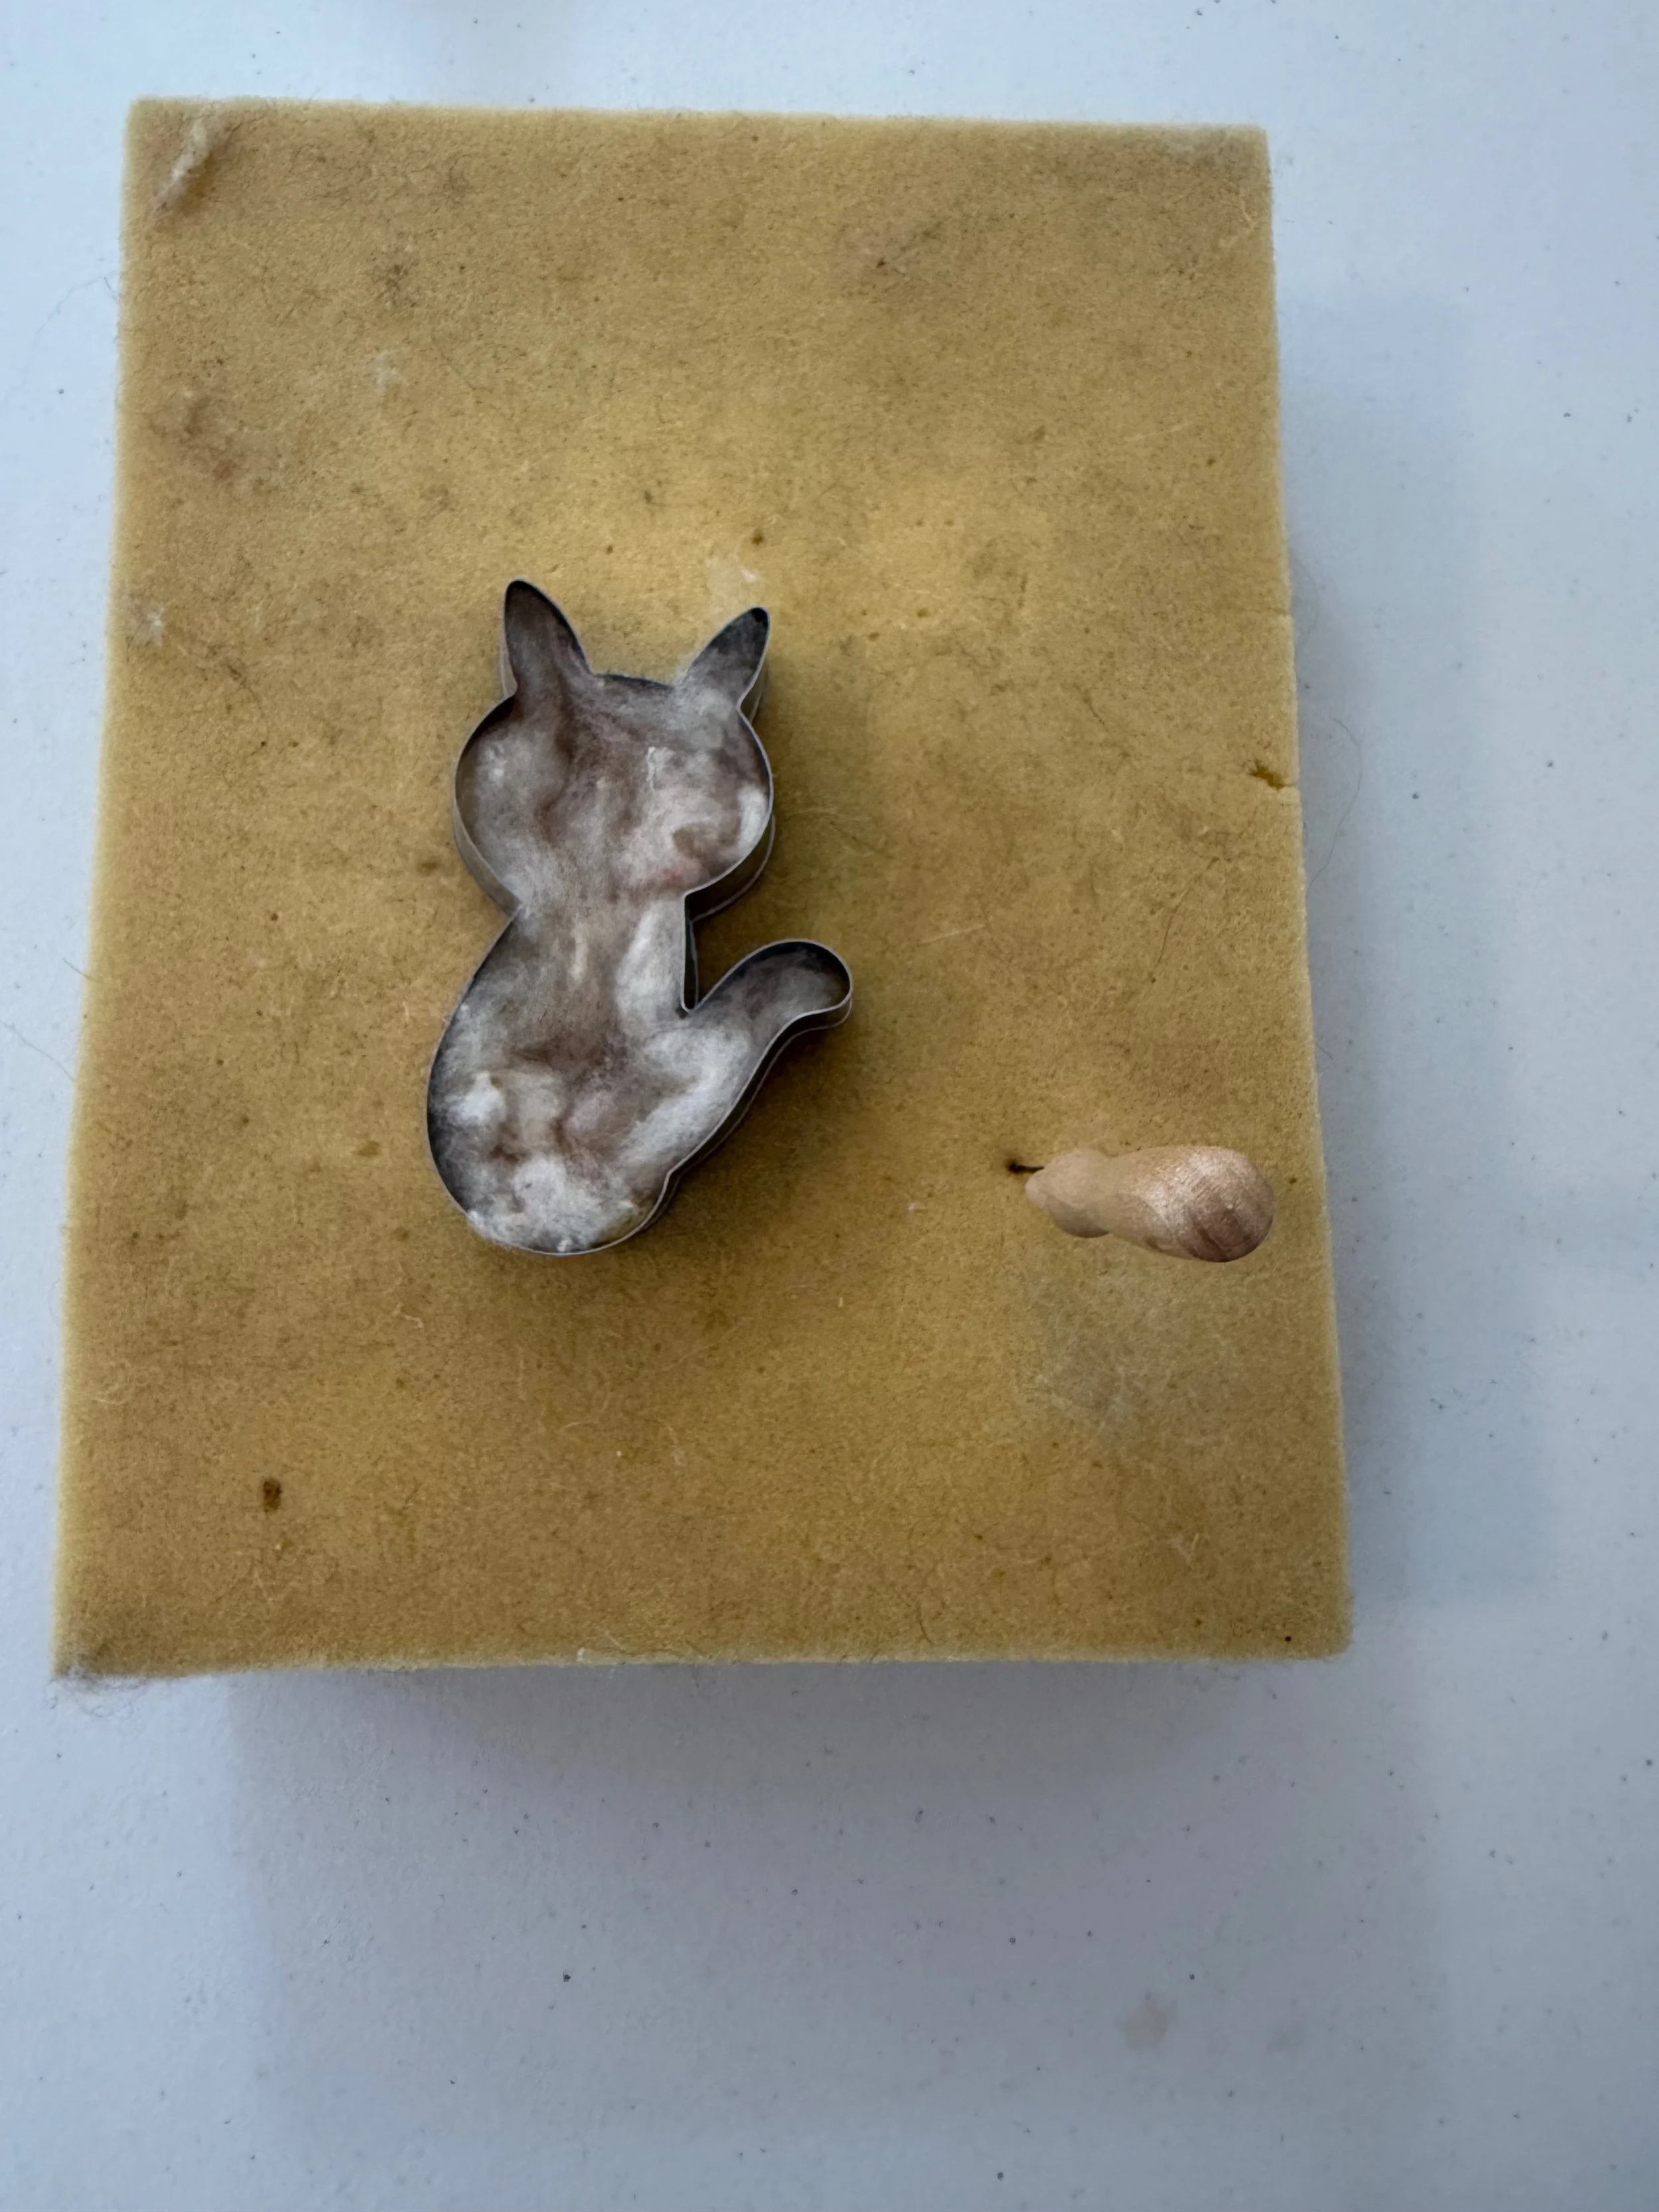
Place fiber to felt inside of cookie cutter
Second, start felting – i.e. start stabbing the fiber; do it lightly. It is best to mostly go straight up and down; a few stabs at an angle are OK. You can hold the fiber down in place initially (while you needle felt); do not stab yourself. Once you've sufficiently felted the fiber to lock it down, as needed go back around the edges to get them crisp. If your piece appears to be thinner/slimmer than desired, you can add more fiber to get the desired thickness. At this point, you can remove the cookie cutter. (I usually do this after about 5 minutes of felting.)

Needle felt your shape on one side
Next, carefully peel your needle felting piece from the mat you're working on and flip it over. It will probably look fuzzy on the backside. And so you now carefully needle felt all that fuzz back into your piece. (You can put it back in the cookie cutter if you want.) Once you've done that you should have a more uniform shape.
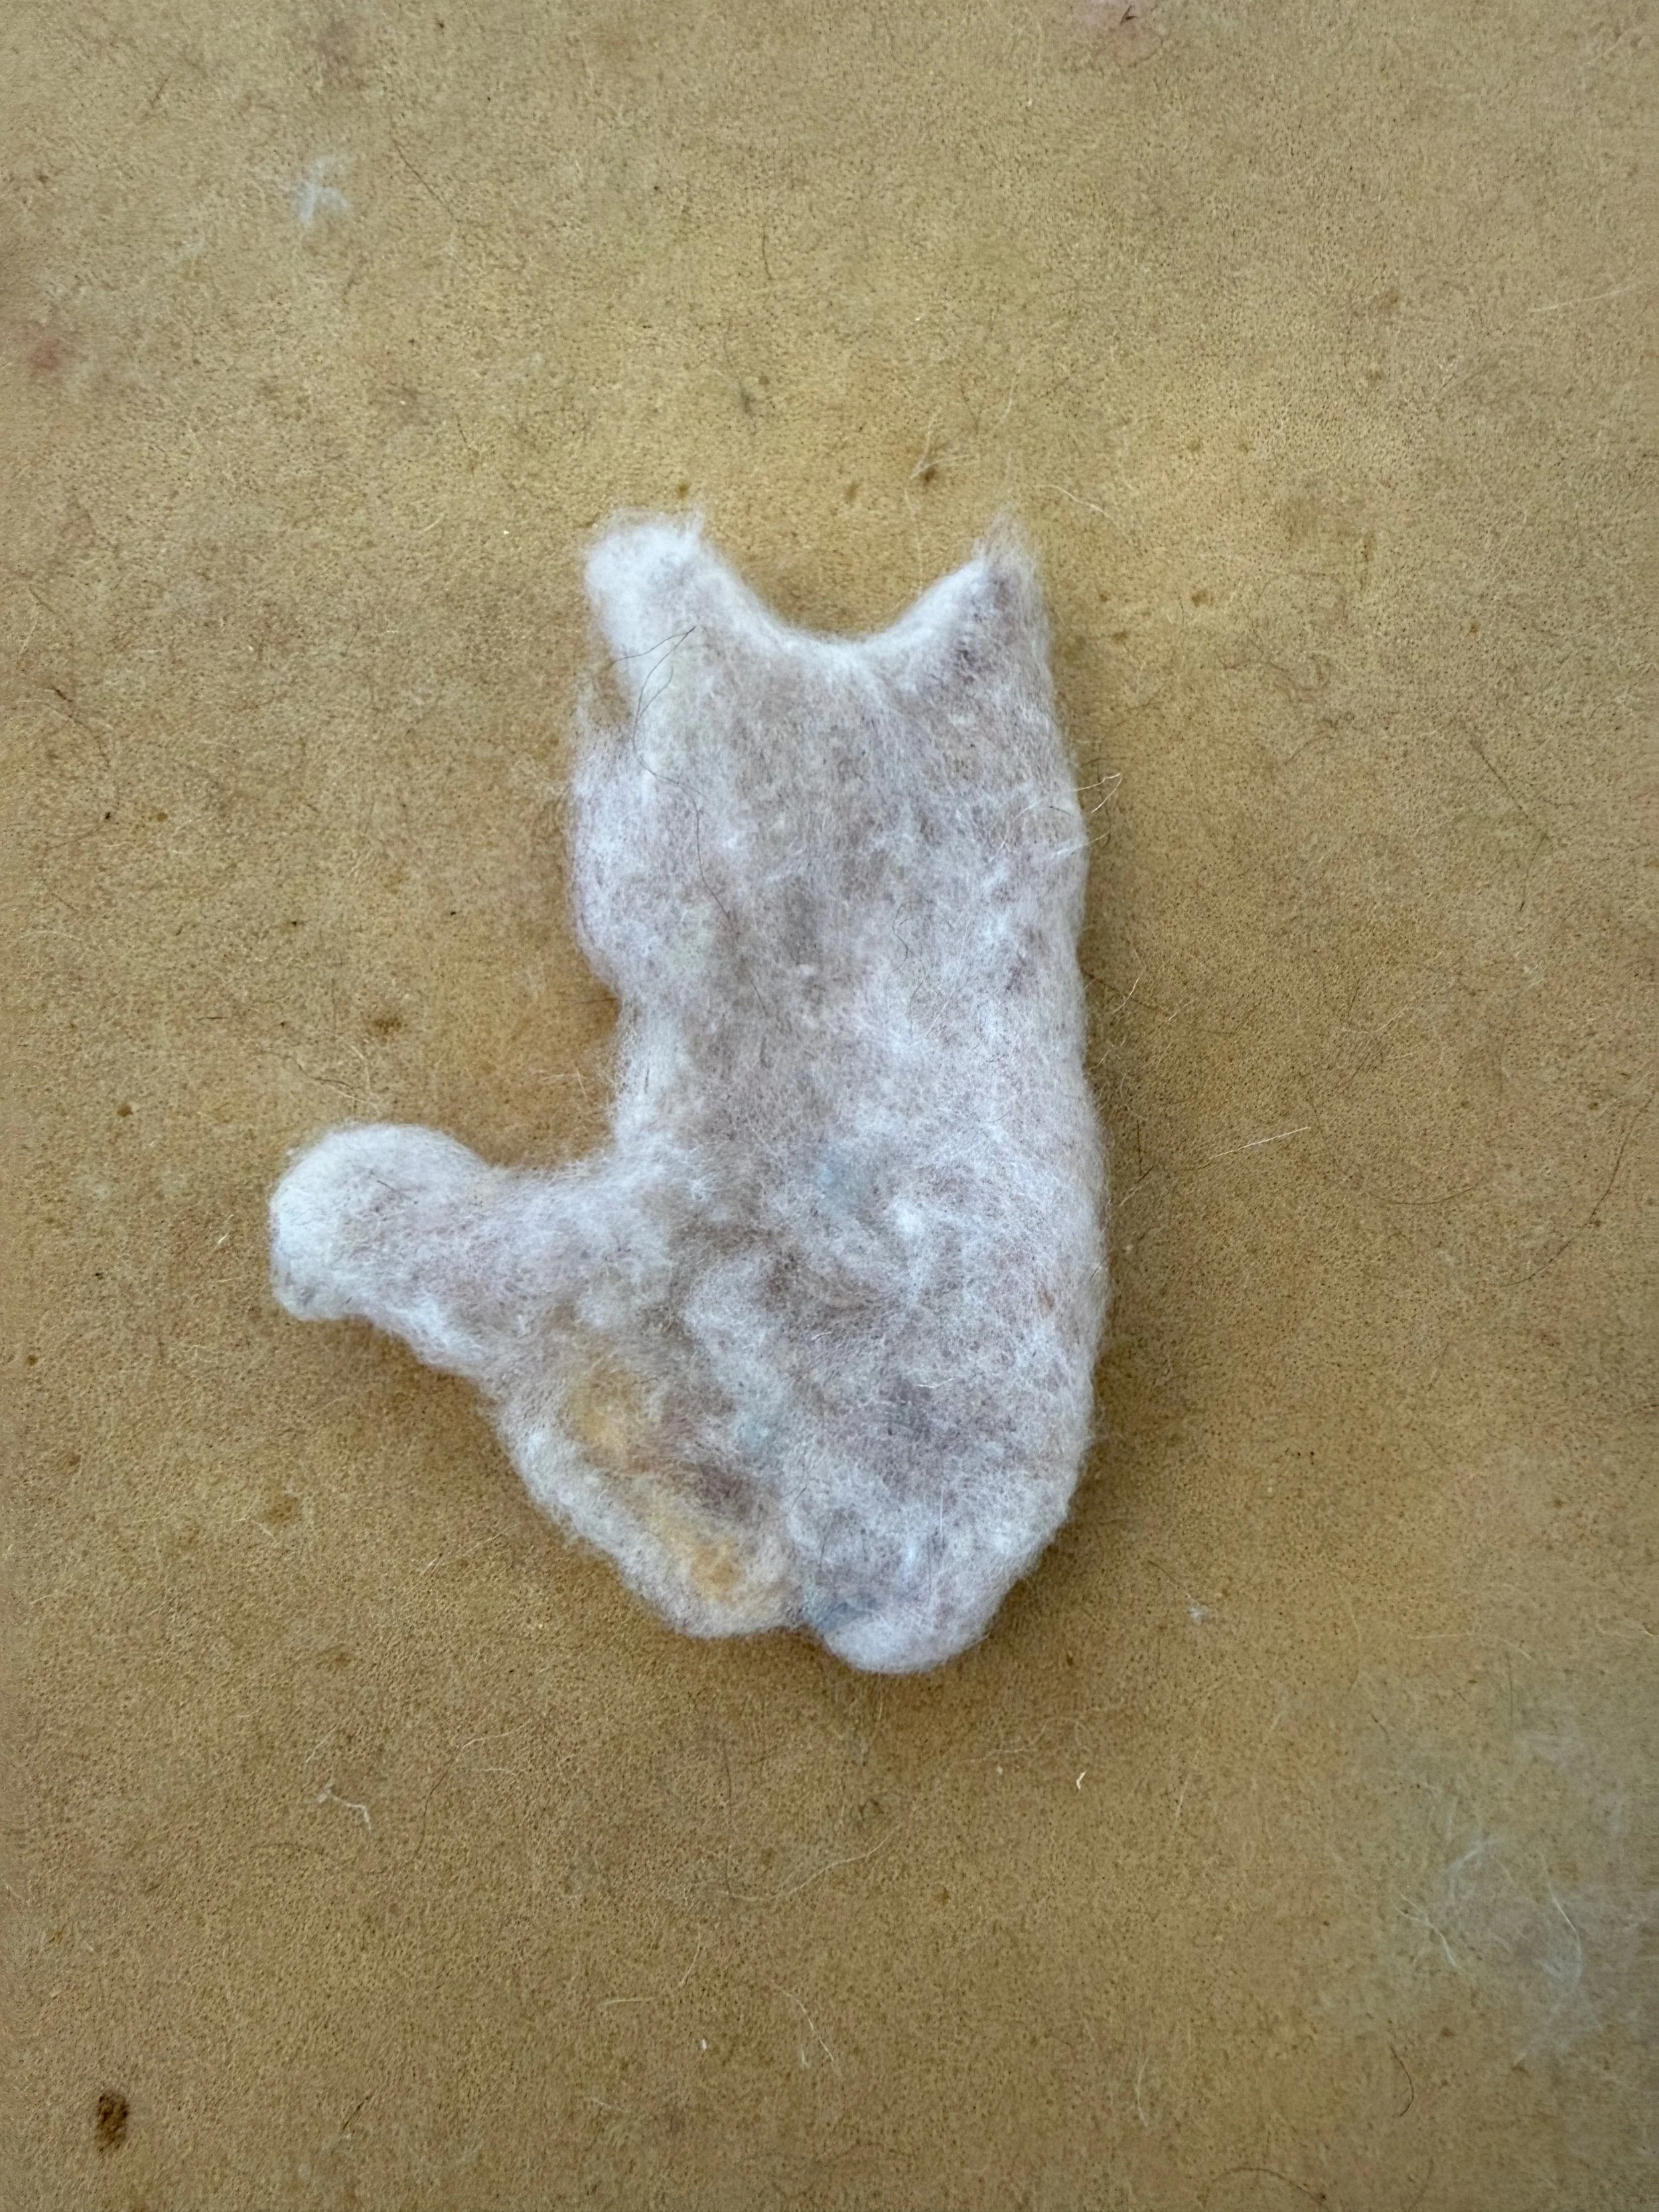
Fuzzy backside of your needle felted shape
You are getting there. To get a nice, uniform felted piece, continue to needle felt on each side. You can also add fiber to thin spots as appropriate. Flip your piece back and forth during this process as needed. The time needed to finish depends on how large your piece is, how much fiber you are felting, how fast you felt, and how even you want your piece to look. It took me approximately 15 minutes to needle felt the cat to my satisfaction.
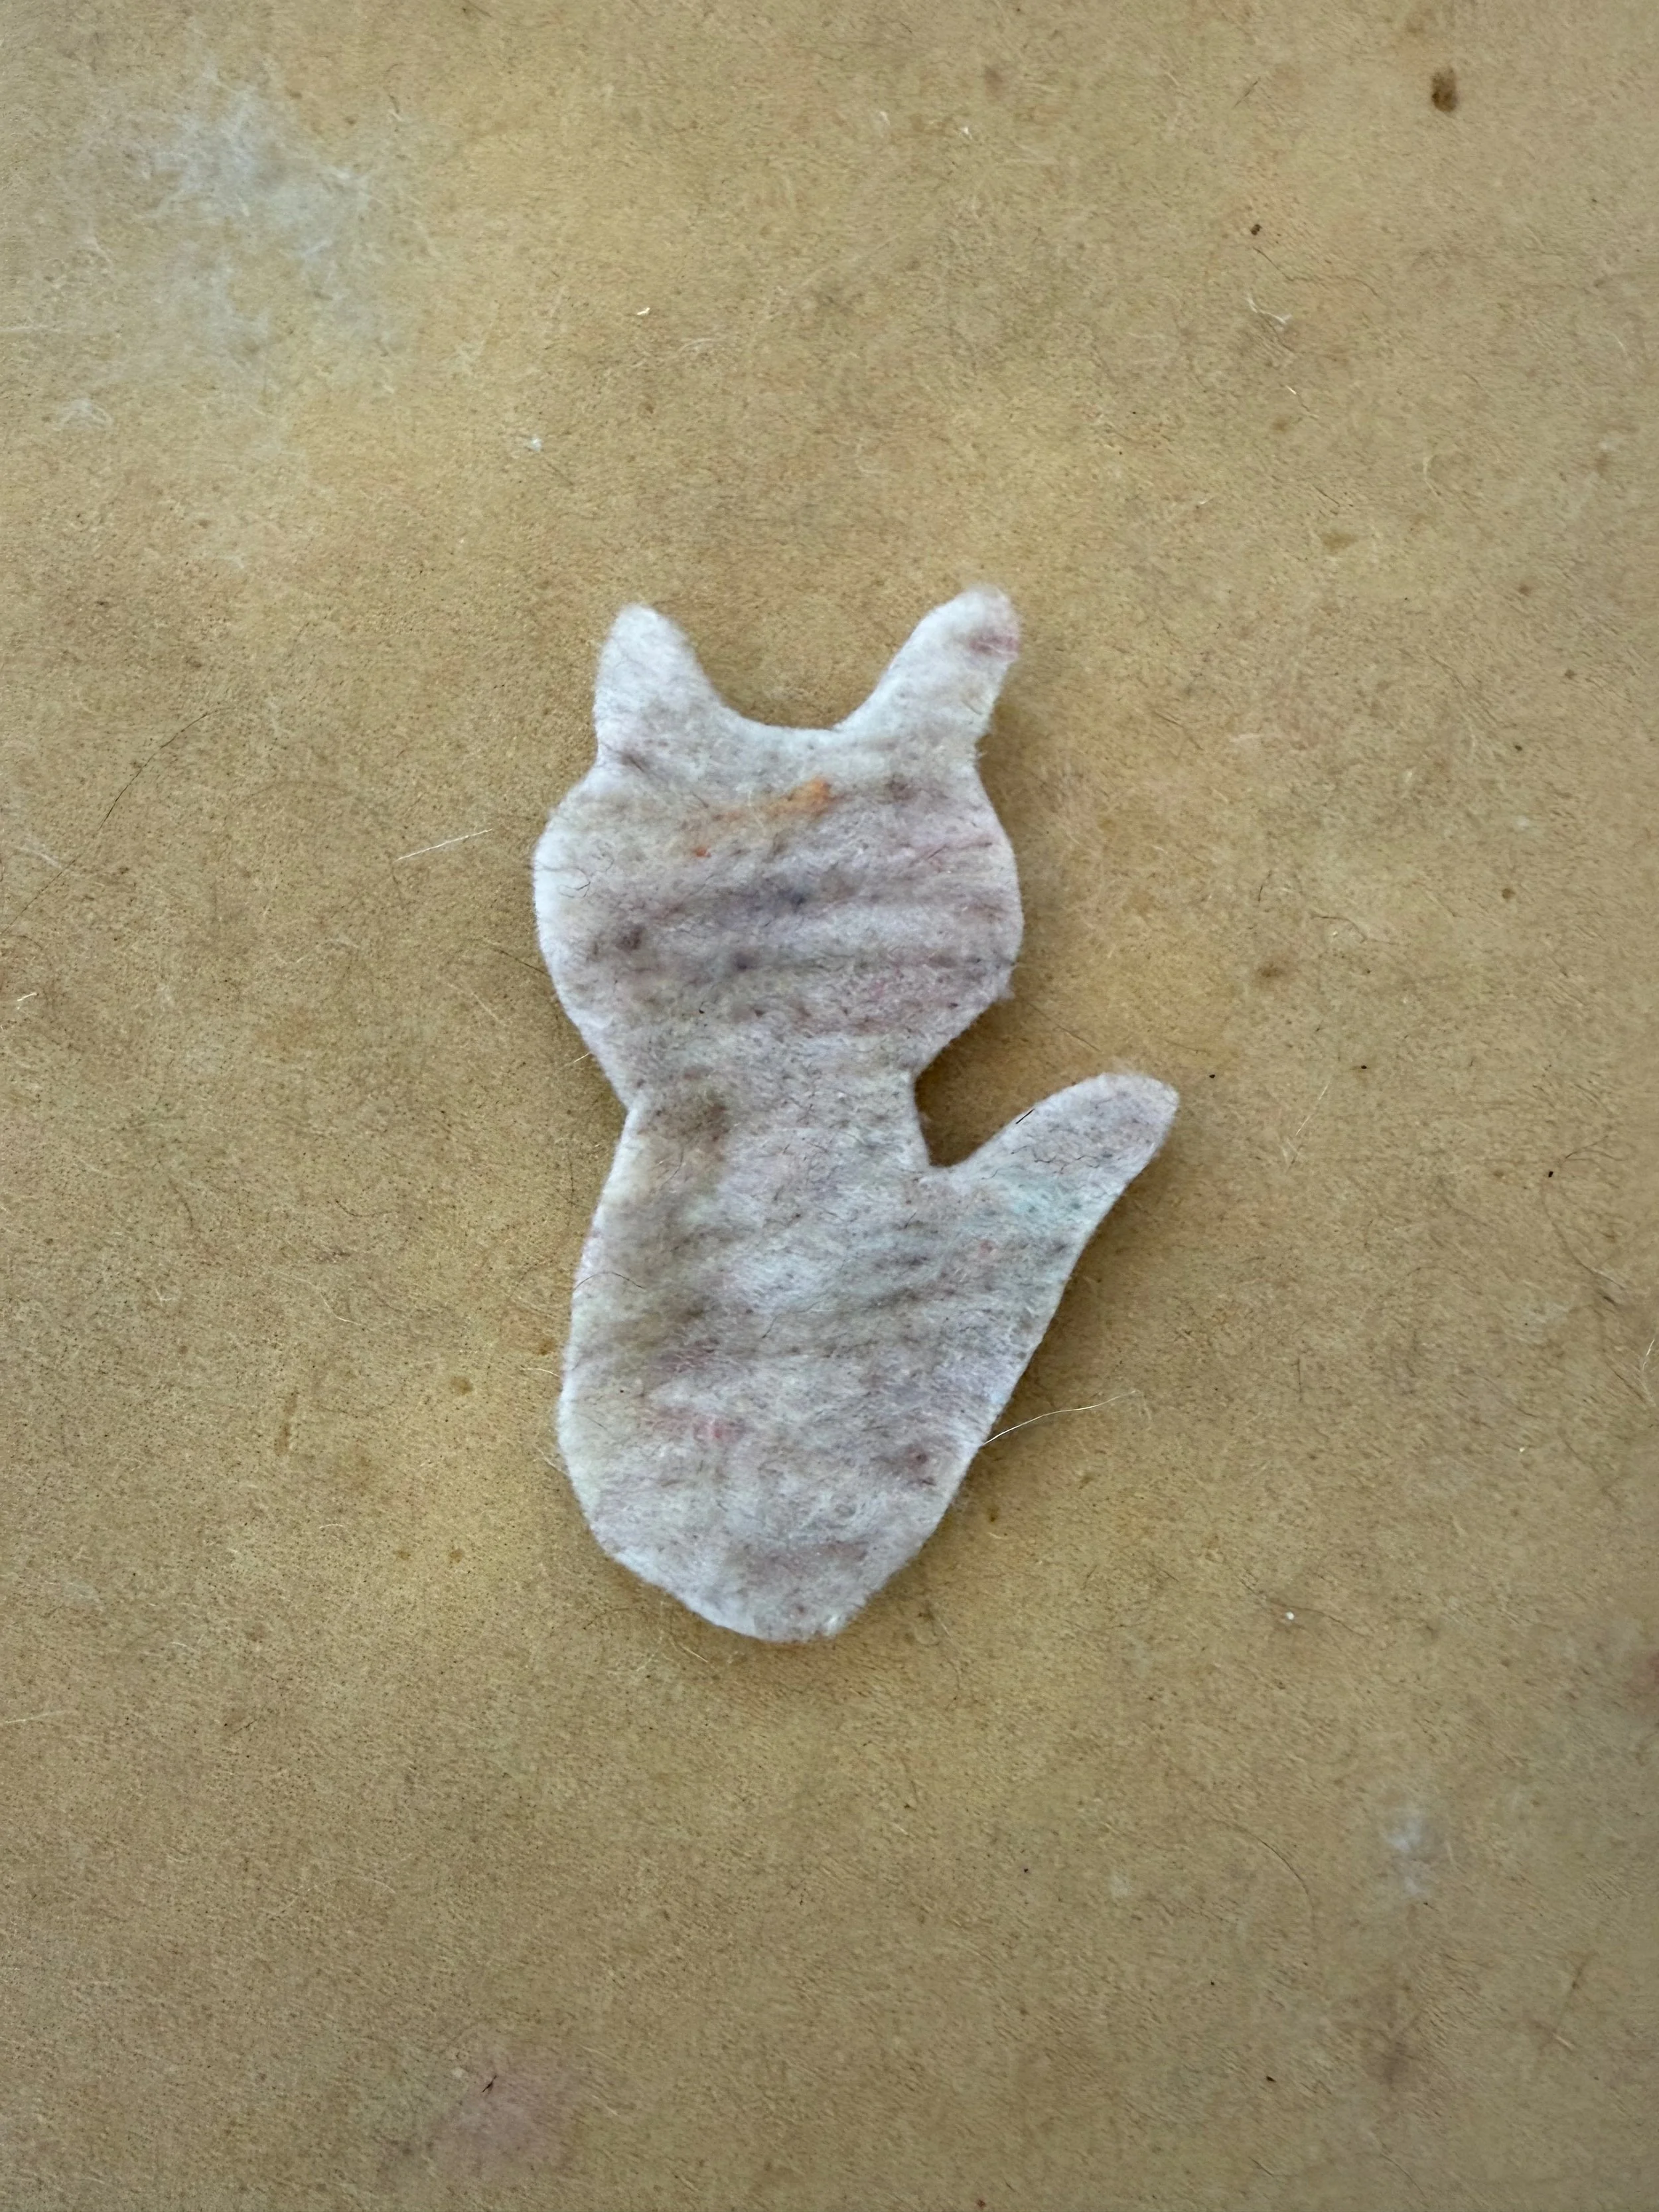
Final needle felted cat
One last tidbit: if you want to hang your piece, attach yarn. To do this, make a loop with the yarn, lay some fiber on top and needle felt it down. Do this thoroughly otherwise the loop will just come out.
PS If you are interested in making a 3D needle felted piece (an animal), Withers Wool and Farm occasionally has a class set up. Info about scheduled classes is at the Classes and Workshops page at www.witherswool.com. (Be sure to indicate the class you are interested in.) No prior experience is needed for any class.